Surprising fact: nearly one in three British men own at least one pair of decorative fasteners, yet most rush the fastening and miss the neat finish that makes a suit look complete.
You want a repeatable way to fasten a cufflink so the decorative face sits neatly on the outside and both sleeves look even when your arms rest by your sides.
This short guide sets expectations. It explains what to aim for visually and the simple sequence that makes the task quick and reliable: fold, hold, align, insert, lock, then comfort-check.
We signpost practical steps for typical UK wedding and office dress standards, and highlight common errors such as misaligned holes or the decorative face turned inward.
What follows covers shirt choices, cuff styles, alignment tips and the main mechanism types so you can handle whatever pair you own with calm confidence.
What cufflinks do and when you’ll want to wear them
A simple accessory, cufflinks finish a dress shirt and sharpen an outfit in one neat move.
What they do: They replace buttons to fasten the cuff and add a deliberate finishing detail. This makes the sleeve look tidy when a jacket reveals a neat flash of cuff.
Why they elevate a shirt for weddings, business and formal events
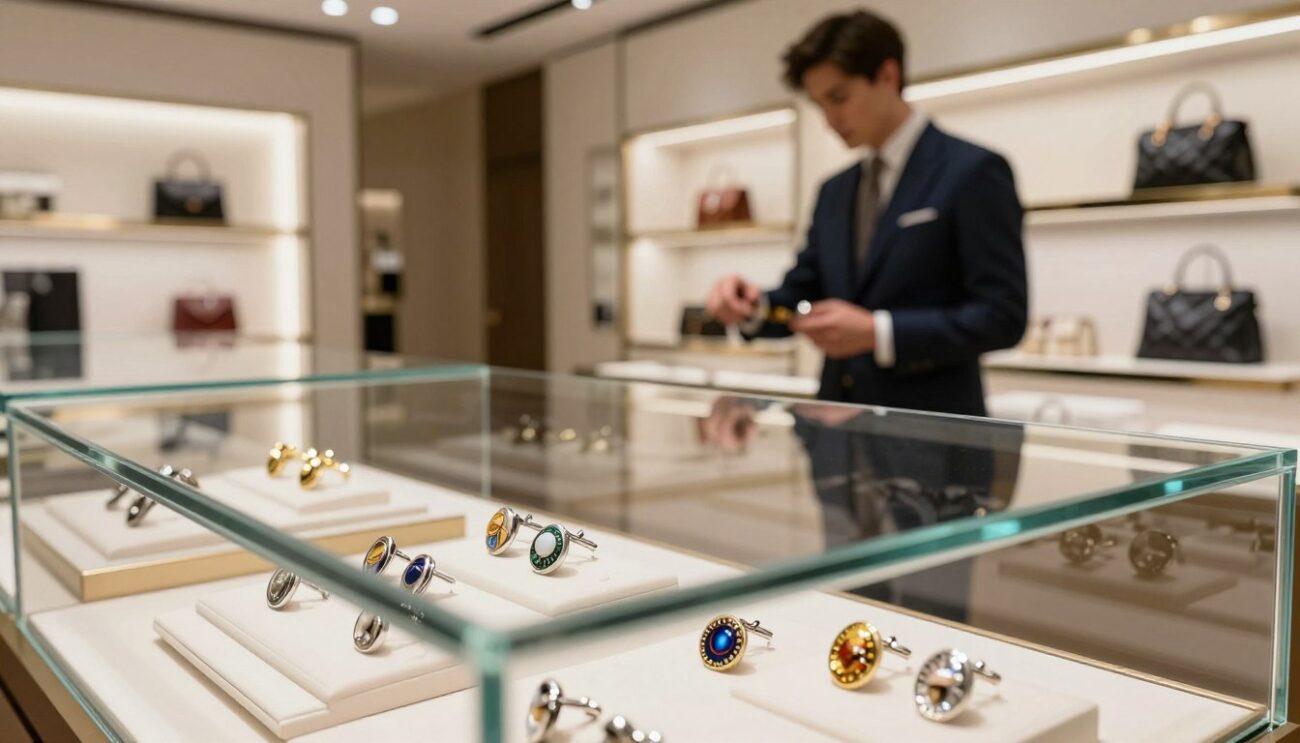
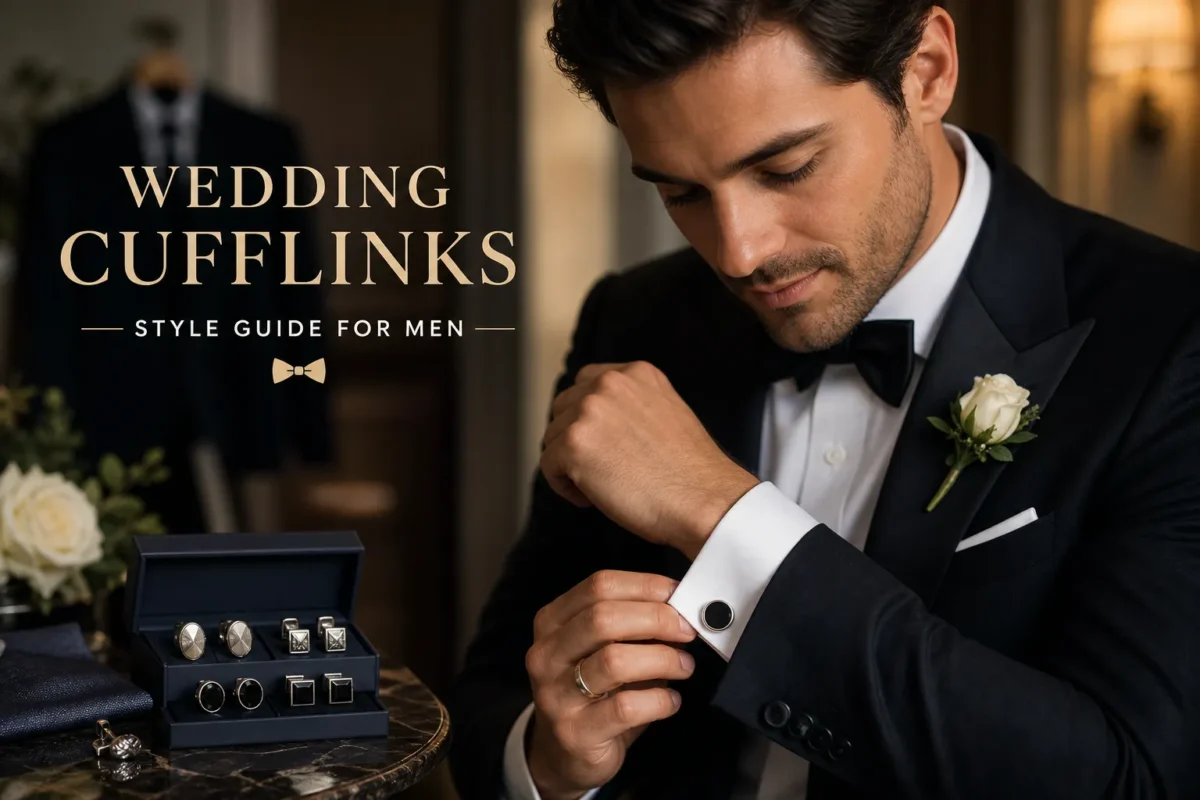
For weddings, black-tie dinners and other formal events, a classic metal face reads as traditional and refined. In meetings and galas, restrained designs signal attention to detail without fuss.
“A small accessory with big impact — it shows care in your overall look.”
Materials and what to expect
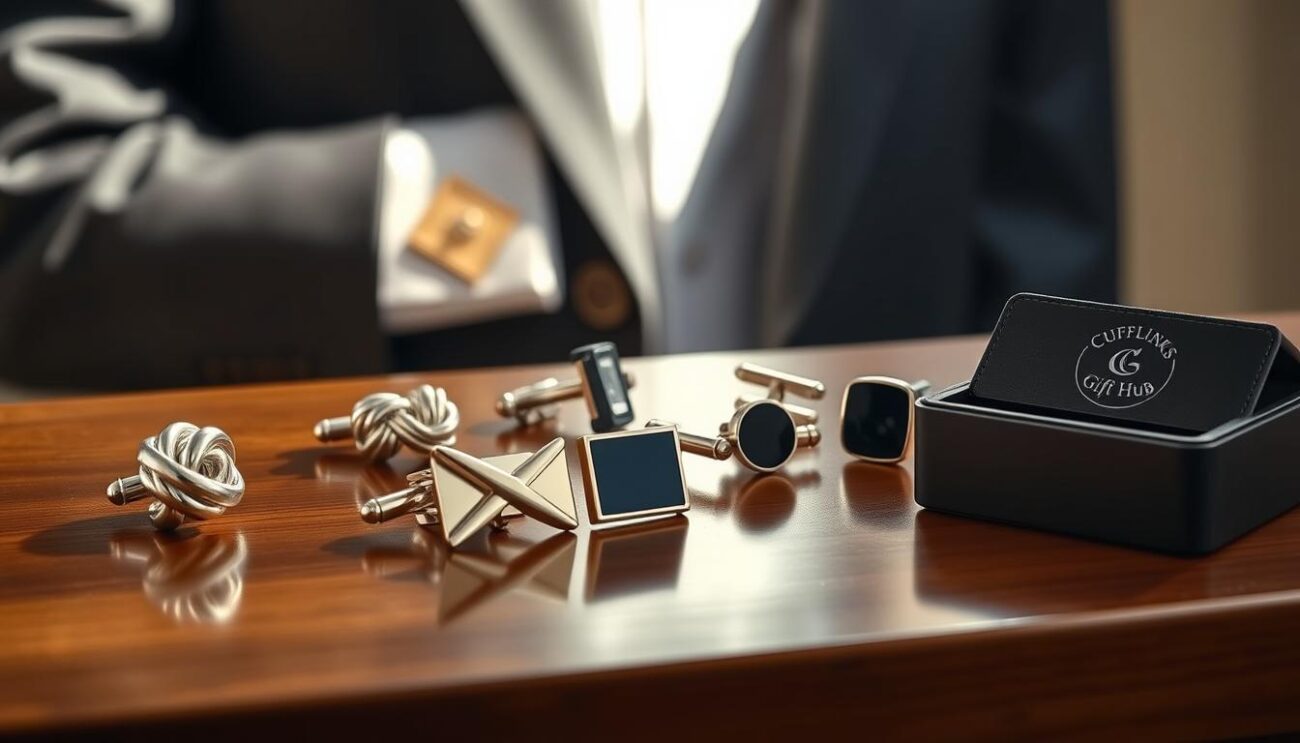
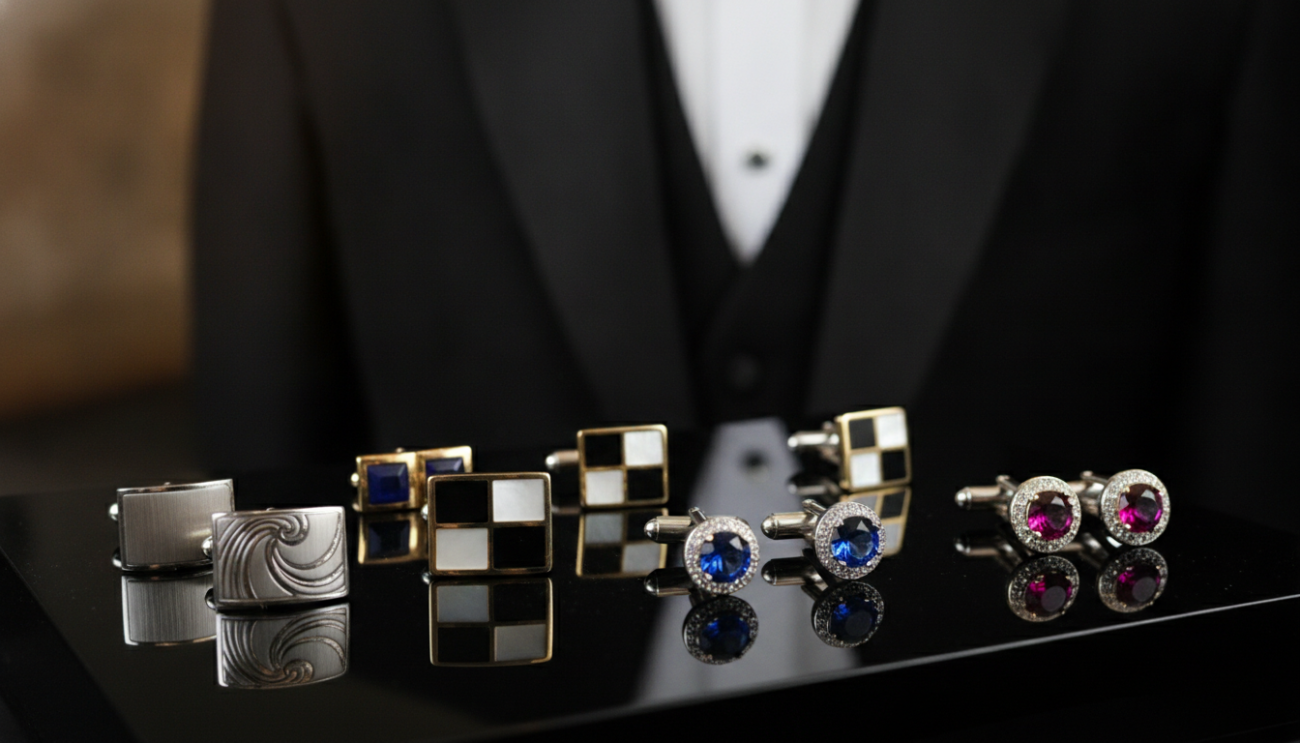
- Metal (silver, gold, chrome): weighty, formal and ideal with a suit.
- Silk knot: lighter, colourful and better suited to semi-formal occasions.
- Pick subtle designs for business and more decorative options for celebration.
| Material | Formality | Best occasions |
|---|
| Silver/Gold/Chrome | High | Weddings, black tie, business |
| Silk knot | Medium | Semi-formal events, colourful outfits |
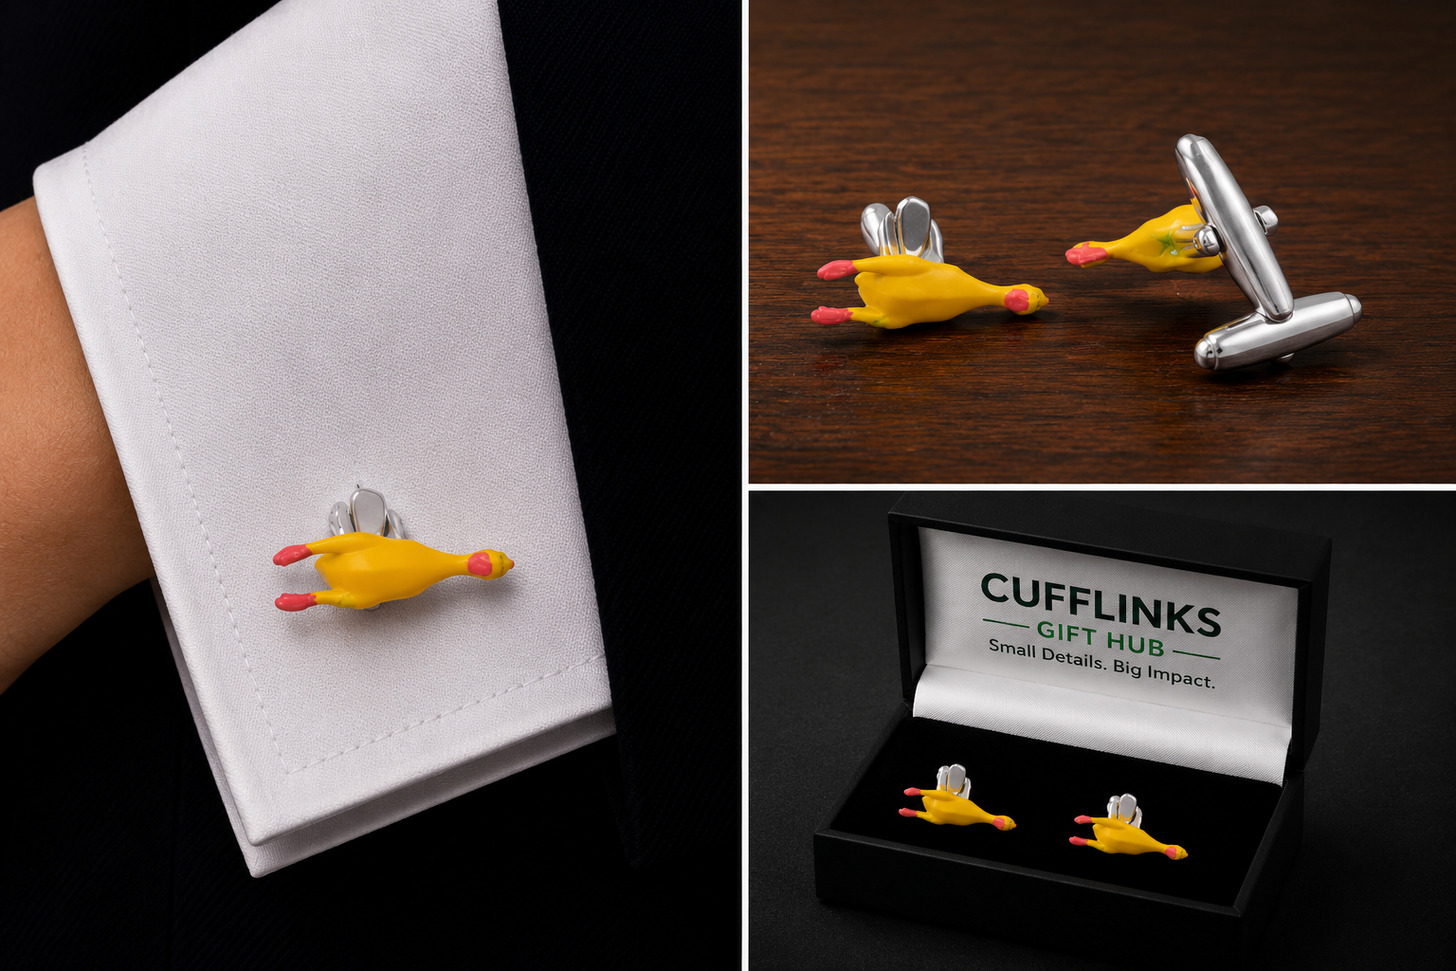
| Novelty / Decorative | Low | Casual celebrations, themed parties |
Choose the right shirt cuff before you start
First, confirm the cuff type—this single check saves time and fuss.
French cuffs are the classic option. They fold back to create layers and are made with cuff holes instead of buttons. The extra-long fabric folds to form four layers that a cufflink passes through, giving a neat, formal finish ideal for a wedding or smart suit.
Single and convertible cuffs
Single or convertible cuffs look like standard cuffs but include holes on both sides. That means you can choose buttons or cufflinks depending on the occasion. They are a flexible choice for office wear when you want options.
Standard button cuffs and alterations
Most button cuffs lack a receiving hole, so a cufflink cannot secure the layers properly. A skilled seamstress can sometimes remove a button and add a hole, but only if the cuff still overlaps your wrist comfortably.
| Cuff type | Features | Best use |
|---|
| French (double) cuffs | Four layers, cuff holes, designed for cufflinks | Formal events, weddings |
| Single / Convertible | Two layers, optional holes, switchable | Office, versatile wear |
| Standard button cuffs | Buttons only, no receiving hole | Casual or altered if tailored |
Prep your cuffs for a clean, comfortable fit
A tidy fold and a steady grip are the small steps that create a polished finish.
How do you put on cufflinks - Fold the cuff back so the edge sits even
With your arm extended, fold the cuff back so the finished edge forms a straight line across. That even line is your guide; if it looks skewed now, the final result will feel tight or sit at an odd angle.
Hold the cuff so it does not twist while fastening
Use the free hand to pinch the layers flat. Keep gentle pressure so the layers do not slide. This stops twisting and keeps the holes aligned while you slide the cufflink through.
Comfort first: the cuff should feel secure but not restrictive. Bend your wrist to check there is no digging. Before you fasten, make sure the cuff sits in the place you want on your wrist.
| Step | Action | Why it matters |
|---|
| Fold | Arm out, fold to straight edge | Keeps lining even for a neat finish |
| Hold | Pinch layers flat with free hand | Prevents twist and misalignment |
| Check | Bend wrist, confirm comfort | Ensures movement without tightness |
Kissing cuff vs overlapping cuff: pick the look that suits you
A simple shift in how the cuff edges meet can alter a suit’s mood instantly.
Kissing cuffs for a traditional, dressier finish
Kissing means the inner faces touch like a neat seam. Both finished edges show and create a classic, formal presentation.
This look suits weddings, black tie and any dress occasion where tradition matters.
Overlapping cuffs for a slimmer, more relaxed look
Overlapping places one edge over the other for a cleaner, slimmer profile on the wrist.
It feels less bulky and can be easier if your cuffs are fitted or you prefer a modern style.
“Consistency matters more than choice — match both sleeves for a balanced finish.”
- Choose kissing when the outfit is sharp and classic.
- Choose overlapping for smart-casual or a sleeker silhouette.
- Either way, keep the same way on both wrists so the look stays balanced.
| Position | Visual effect | Best place to wear |
|---|
| Kissing | Classic, formal, both edges visible | Weddings, black tie, formal meetings |
| Overlapping | Sleeker, less bulky, modern | Smart-casual, fitted shirts, daily office |
Align the cuff holes to make fastening easy
A clean finish begins with the holes lining up across every layer. Aligned holes make the rest of the task effortless. Misalignment is the main reason fabric stretches or the post catches mid-thread.
French cuffs: line up four layers
Bring the folded cuff together so all four layers meet. Use your fingertips to find the stacked holes rather than relying only on sight.
Feel the channel with light pressure. When the holes sit as one, a cufflink post passes through smoothly without forcing.
Convertible and single cuffs: adjust the overlap
Loosen or tighten the overlap until the two holes match naturally. Avoid forcing the post through a misaligned gap.
Yanking can distort stitching and make the shirt look tired over time. Instead, reposition the fabric and try again.
Quick checkpoint: make sure the cuff edges sit where you want them before inserting any metal. Alignment and appearance go hand in hand.
| Situation | Action | Result |
|---|
| French cuffs | Stack four layers, feel for hole channel | Post slides through cleanly, neat finish |
| Convertible/single | Adjust overlap until holes align | No strain, stitching preserved |
| General | Check edge position before inserting | Balanced look and comfortable fit |
How do you put on cufflinks: the core method for any style
Start with a clear order and the rest becomes effortless: position the face, thread the post, then secure the back.
Position the decorative face so it shows on the outside
Place the face cufflink against the outer edge of the wrist. Insert from the outside so the decorative face is visible when your arms rest naturally.
Thread the post without stretching the fabric
Keep the layers supported with a finger behind the stacked fabric. Guide the post through in one smooth motion to avoid widening the holes.
Close the back mechanism securely and check comfort
Rotate or snap the back cufflinks piece until it locks perpendicular to the post and feels stable. A secure back prevents snagging and keeps the face upright.
Quick self-check: movement, tightness and symmetry
Flex your wrist and turn your forearm gently; the cuff should move freely without pinching.
Compare both sleeves for even height, angle and how much cuff shows. Finish with a mirror test: arms down, the face should sit level and visible, not tucked inside the sleeve.
How to fasten bullet back cufflinks and toggle styles
Bullet back is the most common, beginner-friendly mechanism and the fastest way to secure a neat sleeve finish. Knowing the capsule and the single twist makes the task predictable and tidy.
Turning the bullet on its axis so it slides through cleanly
Hold the decorative face at the outer edge of the cuff and locate the small capsule on the post. Turn that bullet so it aligns with the post, creating a slim profile that slides through each layer without snagging.
Support the layers with a finger behind them. This ensures you push the post through fabric, not drag fabric across metal.
Locking it in place with a quarter-turn for a secure finish
Once the post is through, rotate the capsule about ninety degrees. The bullet then sits across the holes and cannot slip back out.
What secure feels like: a gentle tug meets resistance but the cuff does not clamp your skin. If the bullet will not rotate, the post may not be fully through—push the post slightly further, then try the turn again.
- Tip: keep the same motion on both sleeves for a balanced look.
- Quick check: arms down, the decorative face should sit level and visible.
How to fasten whale back cufflinks and whale tail designs
Whale back designs offer a simple, sturdy alternative when you want a quick, reliable finish. Unlike the capsule-style, the flat whale tail gives a broad contact area that sits firmly against the inner cuff.
Flip the tail straight to pass through the holes
First, align the cuff holes and flip the whale tail so it lies straight in line with the post. This narrows the profile and makes the piece slim enough to slide through all layers without snagging.
Rotate the tail perpendicular to secure the lock
Push the post through until the flat tail clears the fabric. Then turn the whale tail so it sits perpendicular to the post. The tail becomes a wide bar that stops the post from pulling back through the holes.
Why it feels secure: the flat tail spreads pressure across the inner cuff and holds firm without excess tightness. If the tail presses uncomfortably, shift the cuff slightly and re-seat the post so the tail lies flat against your wrist.
| Feature | Action | Result |
|---|
| Whale back vs bullet | Flip flat, then rotate | Broader, more stable lock |
| Insertion | Align holes, push post through | Smooth pass, no fabric stretch |
| Comfort check | Adjust cuff, not the tail | Flat sit, gentle pressure on cuff |
How to fasten chain link cufflinks and link cufflinks
Chain link styles use two decorative ends joined by a short chain. This classic design shows both faces and gives a softer, more relaxed finish to a dress shirt.
Threading each end through so both sides are visible
Pass one decorative head through the stacked holes, then guide the other head through from the opposite side. Both faces should sit outside the cuff so the chain hangs between them.
Why chain links give a looser, more flexible fit
The chain adds movement. A short chain lets the cuff settle naturally and reduces rigid tension at the wrist. That makes the sleeve feel less fixed while you move.
- Describe: two heads joined by a short chain, both intended to be seen.
- Thread: insert one head, then the second so each sits on the outer edge.
- Watch: keep the cuff flat and let the chain hang straight to avoid a twist.
- Final look: confirm both ends align and the cuff does not look skewed.
How to fasten fixed back, reversible and ball return cufflinks
Certain backs are fixed and firm, while others offer reversible faces or a rounded return for comfort. Below are clear, friendly notes to help you finish the sleeve neatly.
Fixed back: push through like a button
Expectation: these are sturdy because no parts move, but they need a steady hand.
Angle the solid backing and guide the post through the stacked holes like a button. If resistance appears, stop and re-align rather than forcing. That protects the stitching and keeps the fabric tidy.
Reversible styles: pick the face before fastening
Decide which face you want visible and orient the piece accordingly. This is handy if you’d like a subtle look on one wrist and a bolder face on the other.
Ball return: rounded backs for comfort
The smooth, rounded return makes threading easier when you fasten your own cuffs. Its shape also sits gently against the wrist and reduces pressure under a fitted shirt.
- Check the face is centred.
- Ensure the backing lies flat and the cuff edges are not puckered.
How to fasten locking closure cufflinks for maximum security
Locking closures are the best choice when you need a secure, worry-free finish for long days or active events. They give a firmer hold than simple toggles and tend to sit flatter against the wrist.
Unfold the hinged piece and insert it straight
Step one: unfold the hinged section until the post becomes a straight line. That alignment makes passing through the stacked holes smooth and predictable.
Support the cuff from behind with a finger so the fabric does not twist. Push the post fully through both layers of the cuff and through the aligned holes before you attempt any closing motion.
Close the mechanism so it locks and sits flat against your wrist
Fold the hinge back into place until you hear or feel the click. The locked position should lie flat against the inner side of the wrist and not tilt outwards.
Comfort check: secure must never mean painful. If the cuffs feel tight, reopen and refasten with a slightly looser overlap so movement is natural.
Final check: ensure the closure sits flush and will not catch on knitwear or the lining of a jacket. That small test keeps your look tidy all day.
Style and pairing tips for a polished UK look
Matching metals helps an outfit read as intentional rather than accidental. Pair your gold pieces with a gold-toned watch, tie bar and belt buckle. Do the same with silver or chrome to keep the palette coherent.
Coordinate metal tones with other accessories
Simple rule: match metal to metal. If your watch is steel, choose silver or chrome for balance. A lone bright gold piece can feel out of place unless you echo gold elsewhere in the outfit.
Make the cuffs visible with correct sleeve and jacket length
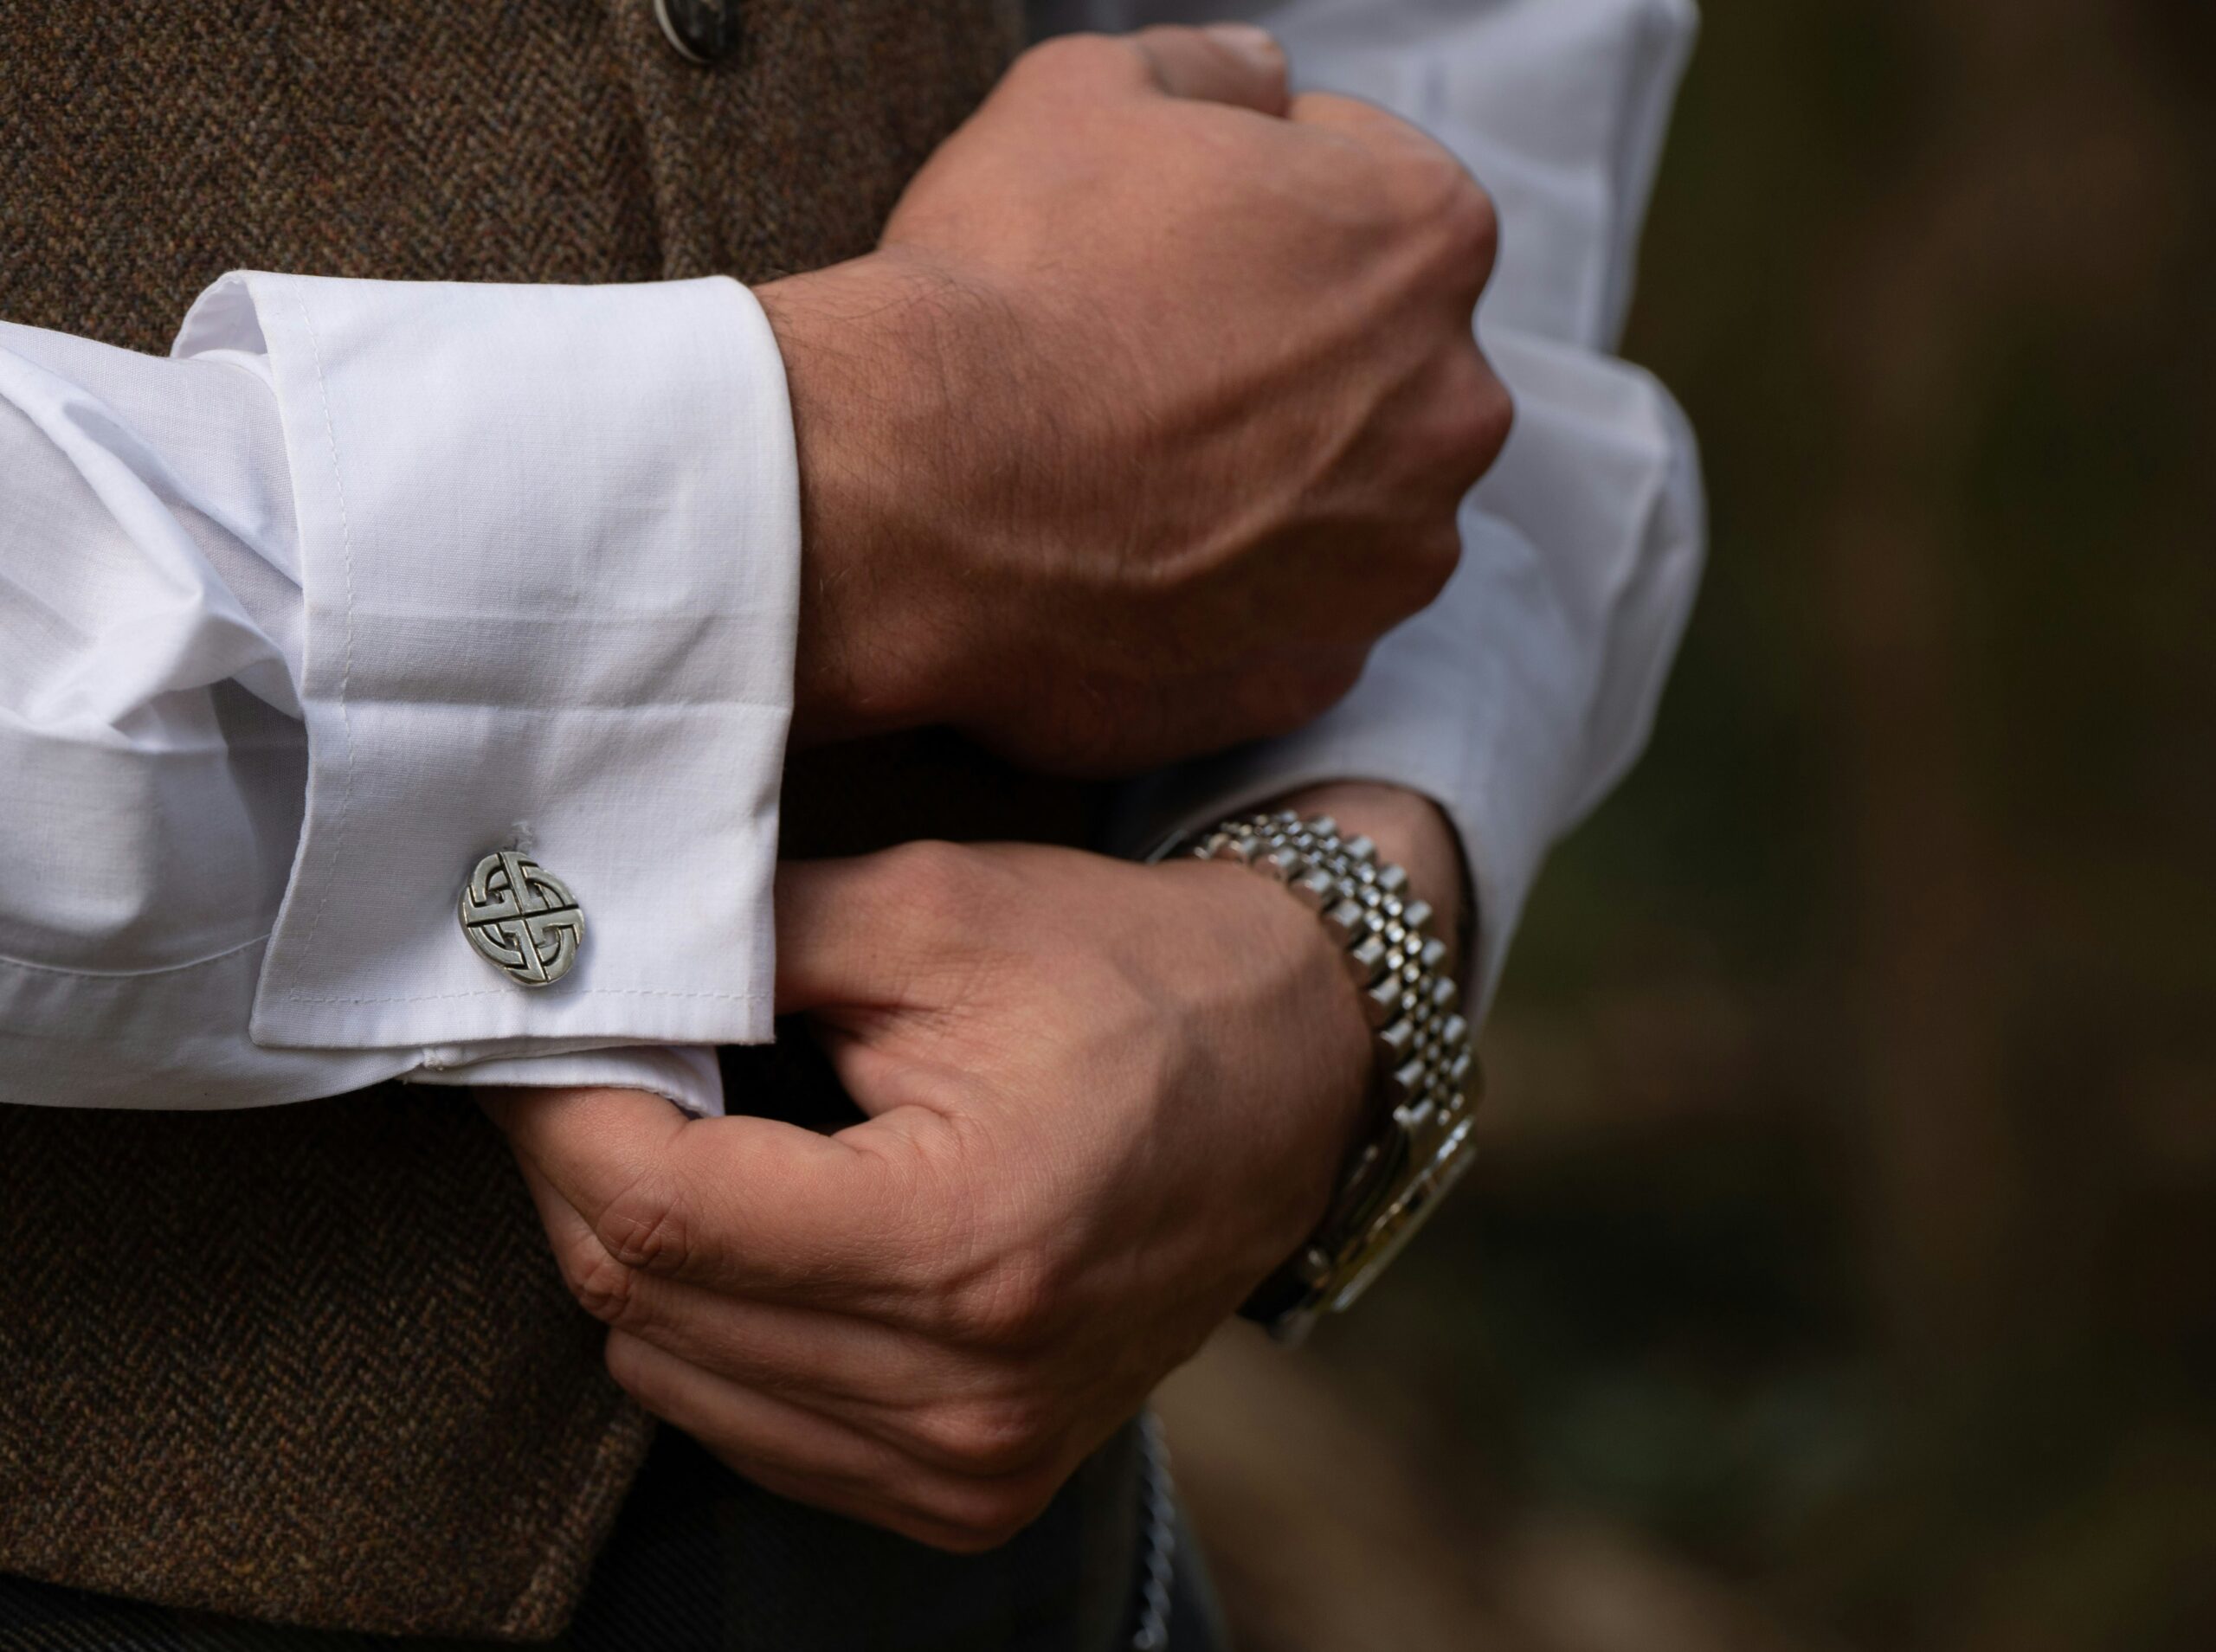
A tailoring target in the UK is roughly half an inch of shirt cuff showing beyond the jacket sleeve. That small reveal ensures the face of the cufflinks is seen when your arms rest naturally.
Too-long sleeves hide the detail; too-short sleeves look ill-fitting. Tailoring fixes both problems and keeps proportions sharp with a suit.
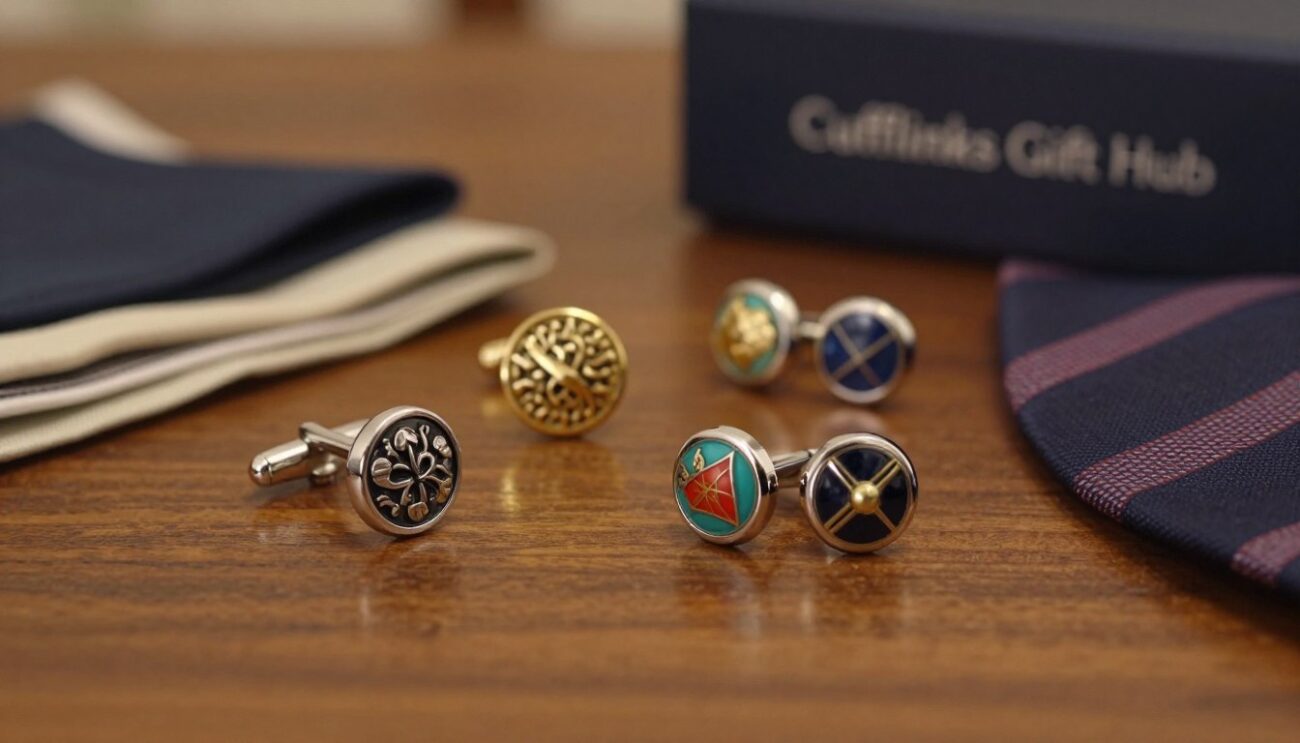
Pick designs that suit the occasion
For business and interviews choose restrained, refined metal designs. For black tie, mother-of-pearl or classic metal reads as timeless and formal.
Silk knots, brighter colours or bolder designs work well for semi-formal events and weddings, provided the overall look stays smart.
- Practical tip: if you expect to remove your jacket during the day, select pieces that still look good with sleeves rolled or relaxed.
- Style note: cufflinks are a subtle signal for men — they show polish and confidence when the rest of the outfit is kept consistent.
Conclusion
A reliable routine makes fastening a small, refined part of getting dressed. Start by choosing the right shirt with cuff holes and prep the cuff so the edges sit even. This simple way saves time and keeps the finish neat.
Remember the order: choose shirt, fold and hold the cuff, pick kissing or overlapping, align the holes, insert the cufflink and secure the back. Check that the piece sits outside and that the mechanism locks without pinching.
Mechanisms differ in one clear breath: bullet and whale backs rotate to lock, chain links thread both ends, fixed backs push through like buttons, and locking closures fold to secure. A quick mirror check for symmetry and comfort is a small habit that makes a big difference.
Done right: both cuffs sit evenly, the cufflinks are centred and nothing pinches. Practice a couple of times and fastening this part of your outfit becomes second nature, giving a sharper, more polished finish every time you leave the house.
FAQ
What do cufflinks do and when should you wear them?
Cufflinks replace shirt buttons to fasten cuff holes and add a decorative touch. They lift a dress shirt for weddings, business meetings and formal events, and come in materials from metal and gold to silk knot designs for varied formality.
Which shirt cuff is best for linking with cufflinks?
French cuffs are the classic choice, folded back and fastened with link or whale back styles. Convertible cuffs can work if they have matching holes; shirts with standard sewn-on buttons usually need alteration to accept a post or chain.
How should you prepare French cuffs for a neat finish?
Fold the cuff edge evenly so both sides align, then flatten to remove twists. Hold the layers together at the seam while you position the holes to keep the cuff from shifting as you fasten the piece.
What’s the difference between kissing and overlapping cuffs?
Kissing cuffs meet edge-to-edge for a traditional, dressier look. Overlapping cuffs sit one layer atop the other for a slimmer, slightly more casual silhouette; both accept most cufflink mechanisms when the holes align.
How do you align cuff holes on a French cuff?
Stack the fabric so the buttonholes line up, pinch the layers at the holes, then steady the cuff while you insert the post. For convertible cuffs, adjust the overlap until the holes match before threading any metal or chain.
How should you position the decorative face when fastening?
Place the decorative face on the outside of the wrist so the post or chain passes to the inside. That keeps the visible design centred and ensures the back mechanism sits flat and comfortable against your wrist.
What’s the core method for fastening most cufflinks?
Thread the post through both aligned holes from the outside in, then secure the back mechanism. Check for evenness on both sleeves and ensure movement and tightness feel comfortable without stretching the fabric.
How do you fasten bullet back or toggle cufflinks?
Turn the bullet or toggle so it aligns with the post, slide it through the holes, then rotate it 90 degrees to lock. The quarter‑turn secures the back and keeps the decorative face visible on the outside.
How do whale back and whale tail designs work?
Flip the whale tail so it sits in line with the post, push it through the cuff holes, then rotate the tail perpendicular to the post to lock it. The solid backing gives a quick, reliable closure and a flat finish.
How should chain link or link cufflinks be fastened?
Thread each end of the chain through the paired holes so both decorative faces appear on the outside. Chain links allow more movement, giving a looser, more flexible fit suited to casual or creative outfits.
What about fixed back, reversible and ball return mechanisms?
Fixed back pieces pass through like a button and remain solid. Reversible types let you choose which side faces out. Ball return styles use a rounded back that slides through easily and rests comfortably against the wrist.
How do locking closure cufflinks provide extra security?
Unfold the hinged locking piece, insert the post straight through both holes, then close the hinge so it locks in place. The mechanism sits flat and prevents accidental opening during wear.
How should you style cufflinks with your outfit in the UK?
Match metals like silver or gold to your watch, belt buckle and tie bar. Ensure sleeve and jacket lengths let the cufflink show without exposing too much cuff. Choose subtle designs for business and bolder faces for black tie.